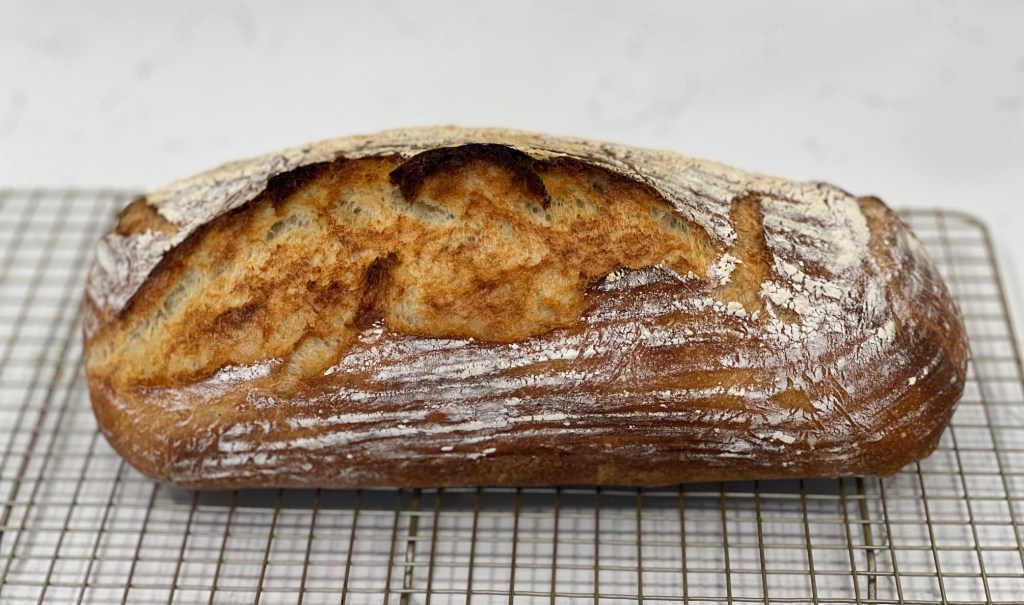
This rustic, crusty bread is delicious when it’s still warm from the oven. The dark crust has an intense flavor and the crumb is soft and chewy.
You need to start this recipe the day before you are planning to bake.
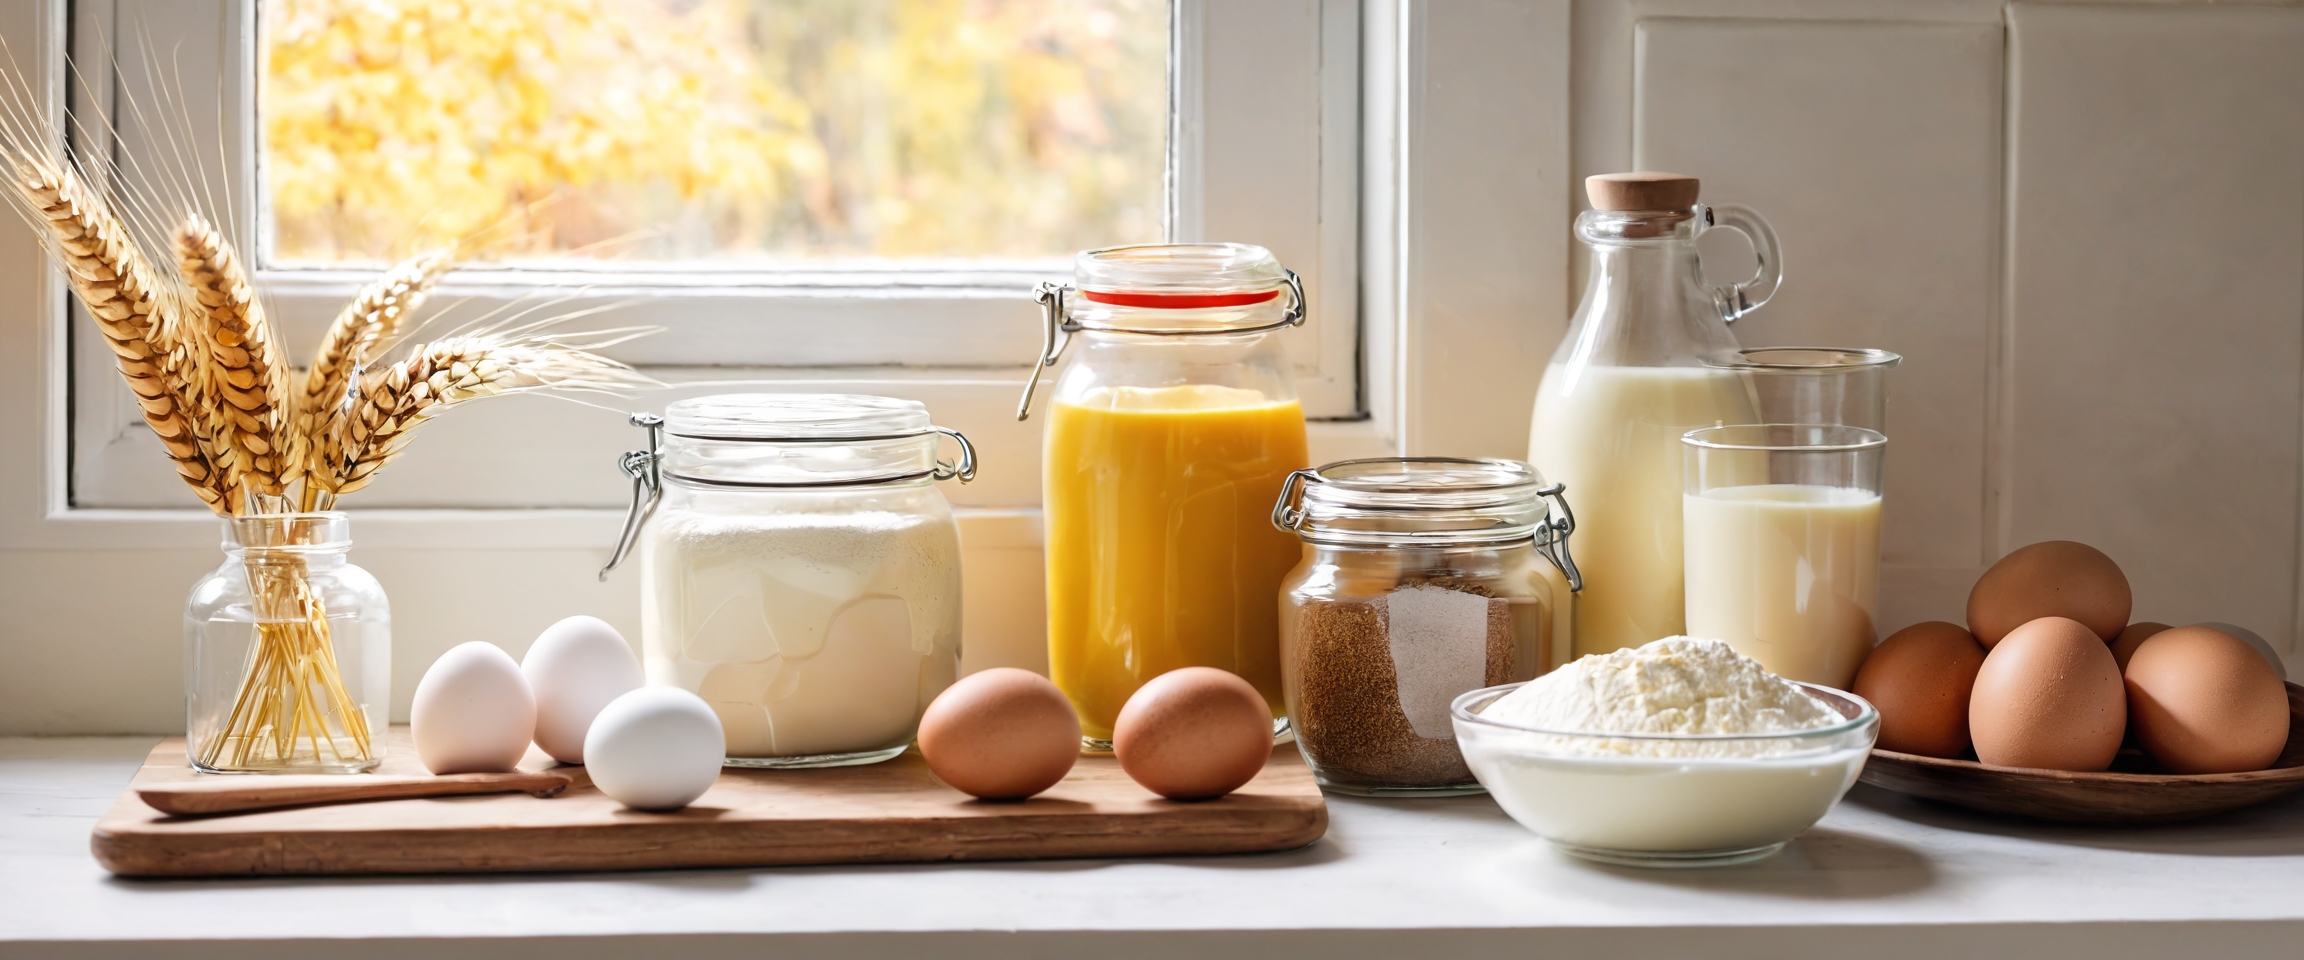
Ingredients
Poolish
- Bread flour 500g
- Water 500g
- Instant dried yeast 0.4g (1/8 teaspoon)
Final dough
- Bread flour 500g
- Water 200g
- Salt 20g
- Instant dried yeast 3g
Procedure
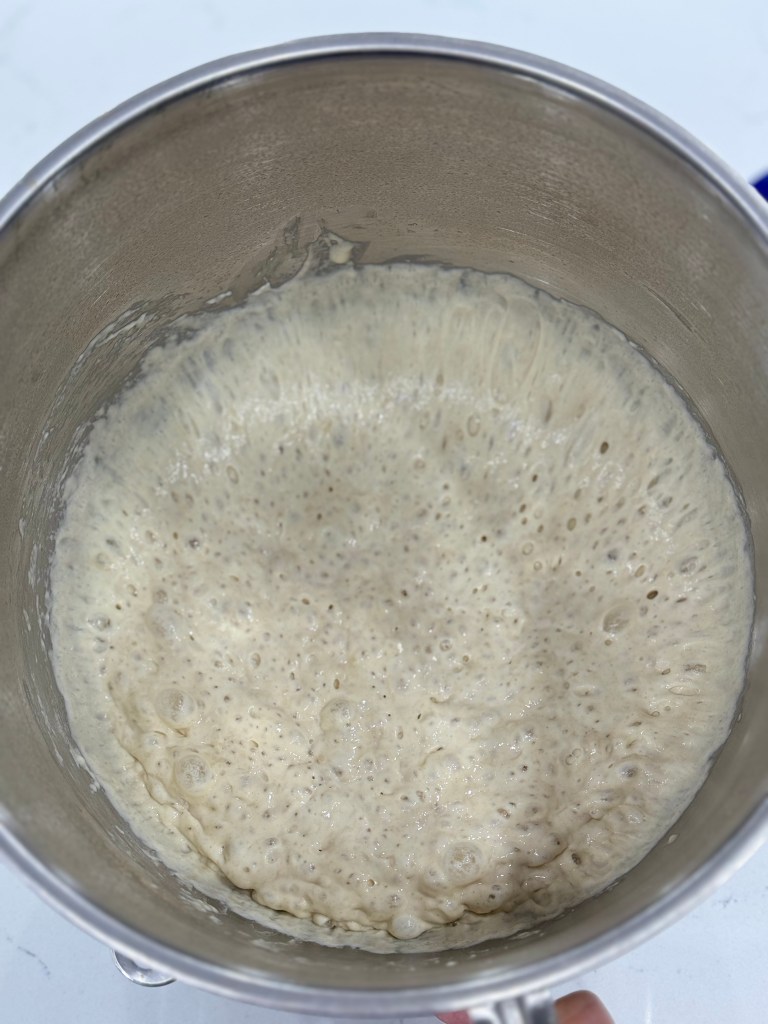
Prepare the poolish the evening before you plan to bake. Combine the flour and warm water (if you have an instant thermometer the temperature should be 27oC or 80oF) in the bowl of a stand mixer and mix with a spoon until completely blended. Cover and leave overnight at room temperature.

About 12-14 hours later, the poolish should be bubbly and about tripled in volume.
Mix the final dough by adding the additional flour and yeast, then begin incorporating the water while slowly mixing, and add the salt last. Continue mixing for 3-4 minutes then remove the bowl from the mixer and cover it with plastic wrap. The dough will be quite sticky.
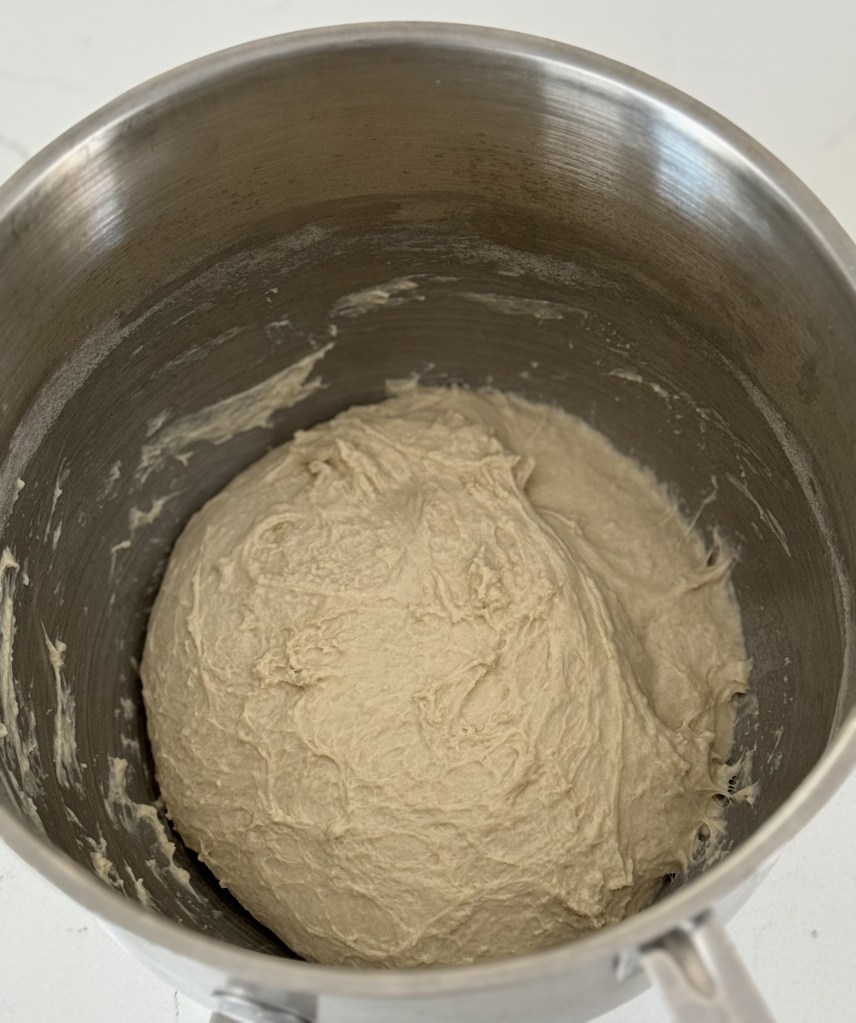
About 10 minutes after mixing, transfer the dough onto a floured surface and fold it onto itself. Transfer it back to the bowl and then repeat the folding in the next hour. The folding steps help incorporate air in the dough, creating a less dense bread.
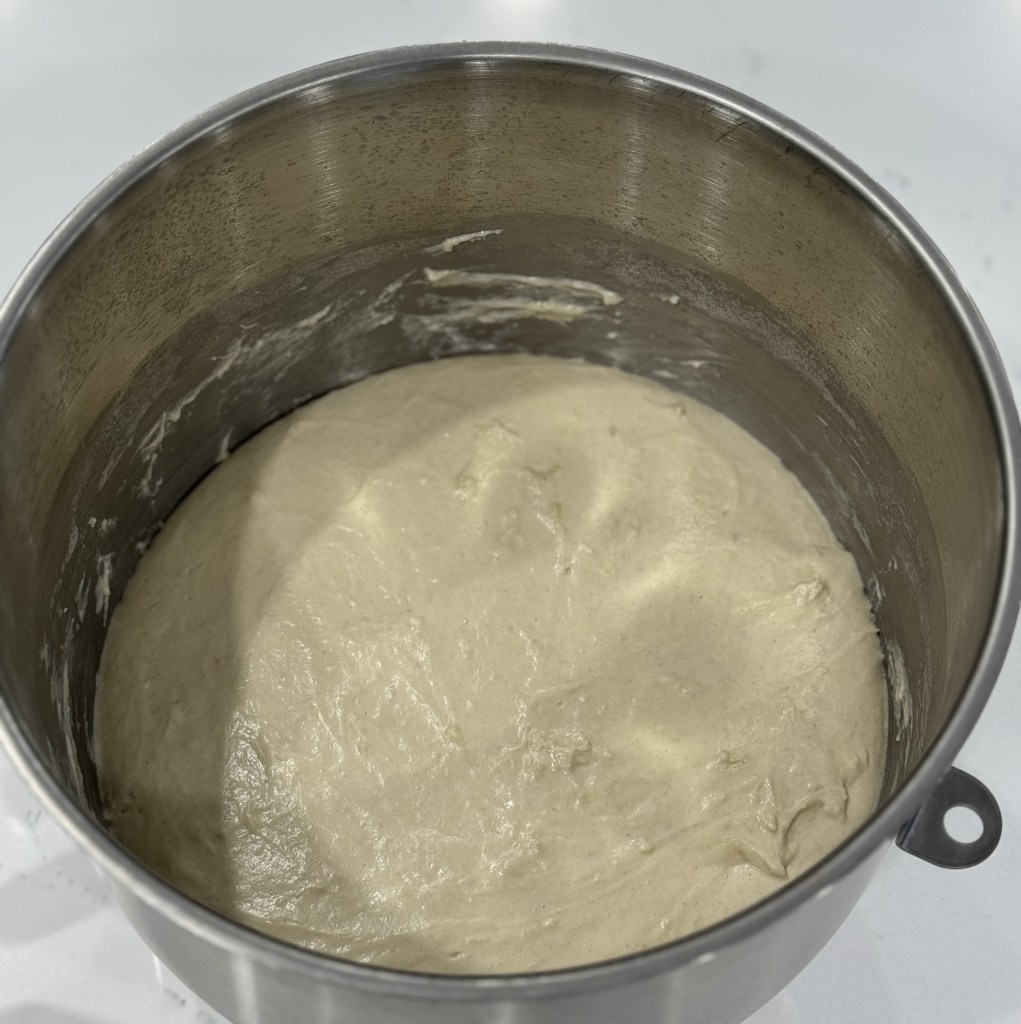
Let the dough rise at room temperature, covered, until tripled in volume, about 2-3 hours after mixing.
Transfer the dough onto a floured surface and divide it in half.
You can either make 2 loaves or 8 buns with this recipe. The loaf is cooked in a Dutch oven and it has a more robust flavor.
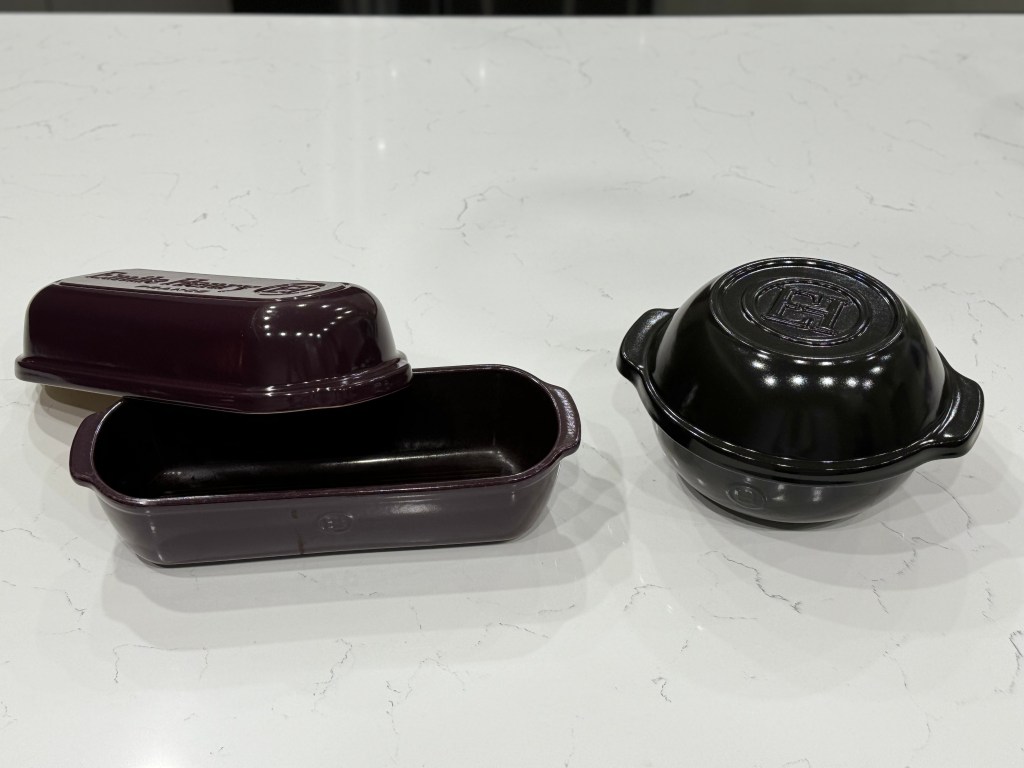
To make 2 loaves (you will need a Dutch oven)
To make buns
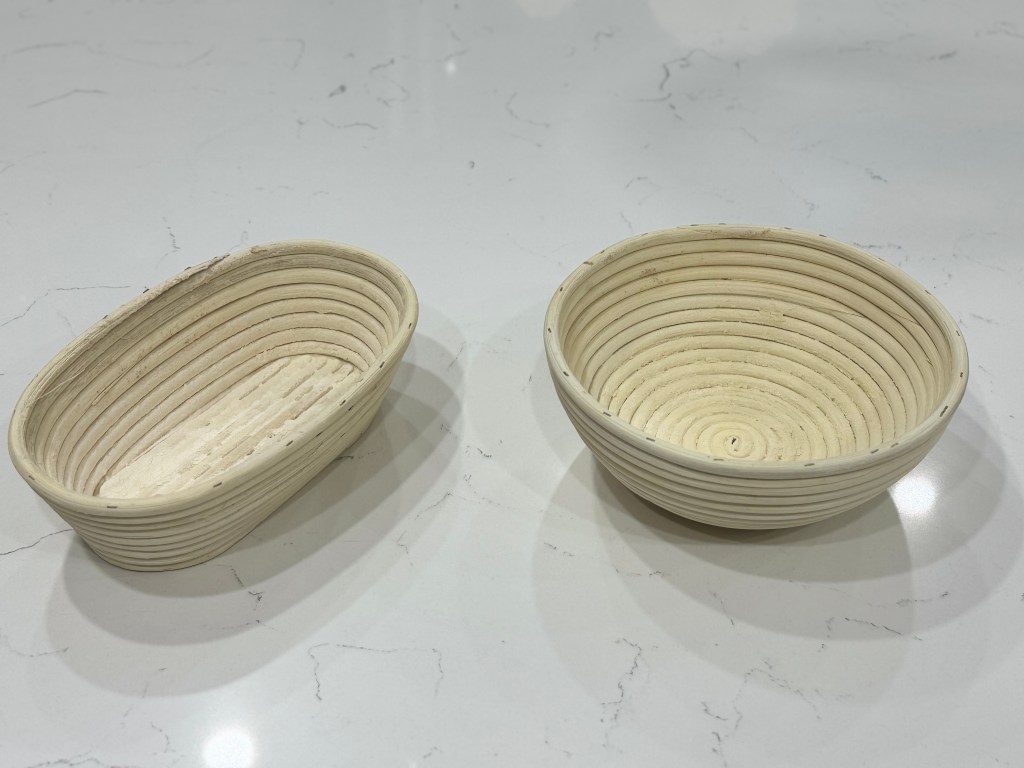
- Shape each piece of dough into a ball and transfer it to a proofing basket, covering it with a kitchen towel or placing it into a plastic bag.
- Let the dough proof at room temperature for about 1 hour. If you proof too long, your bread will deflate during baking and will result less soft.
- About 30 minutes prior to baking, preheat the oven to 245oC (475oF) and put the Dutch oven in (with the lid on) to preheat.
- If you only have one Dutch oven, at the end of the proofing time put one of the loaves in the refrigerator and then bring it back to room temperature 10 minutes prior to baking.
- At the end of the proofing time, take the Dutch oven out of the oven, remove the lid and dust the bottom with semolina flour (or regular flour) and transfer the dough in. The best way to transfer the dough is to invert the basket directly into the Dutch oven. You want the seam (the side of the loaf that was on the bottom while it was rising) to be on the top for baking. Replace the lid and put the Dutch oven back in the oven.
- Cook for 30 minutes, then remove the lid and cook for another 8-10 minutes. The crust will become dark (this will enhance the flavor).
- Remove the Dutch oven and carefully tilt it to turn the loaf out. Let the bread cool on a rack for 20 minutes before slicing.
- This bread is best consumed the same day. If you want to keep it longer, you can freeze it and warm it up in the oven for 5-10 minutes when you defrost it.
- Divide each half of the dough in 4 pieces and shape each piece into a ball, then place the buns onto a baking sheet covered with semolina flour (or regular flour).
- Cover with a kitchen towel and let rest for 1h at room temperature.
- Preheat the oven to 220oC (395oF) and transfer the baking sheet into the oven at the end of the proofing time. Bake for about 20 minutes, then remove from the oven and place the buns on a rack to cool.
- This bread will stay at room temperature for a couple of days in a plastic bag, or freeze it for longer storage.